
Content
64 Pad Drum Rack Since Ableton Live 9.2
Moving From Regular 4×4 Pad Controllers To Ableton Push
Establishing A New 64 Pad Layout For Finger Drumming On Ableton Push
Specific Ideas For XpressPads Layouts With 64 Pads For Ableton Push
Creating A Live 64 Drum Rack For Ableton Push For Your Favourite Virtual Drum Kit Plugin
Ableton Push 1 vs. Ableton Push 2
Introduction
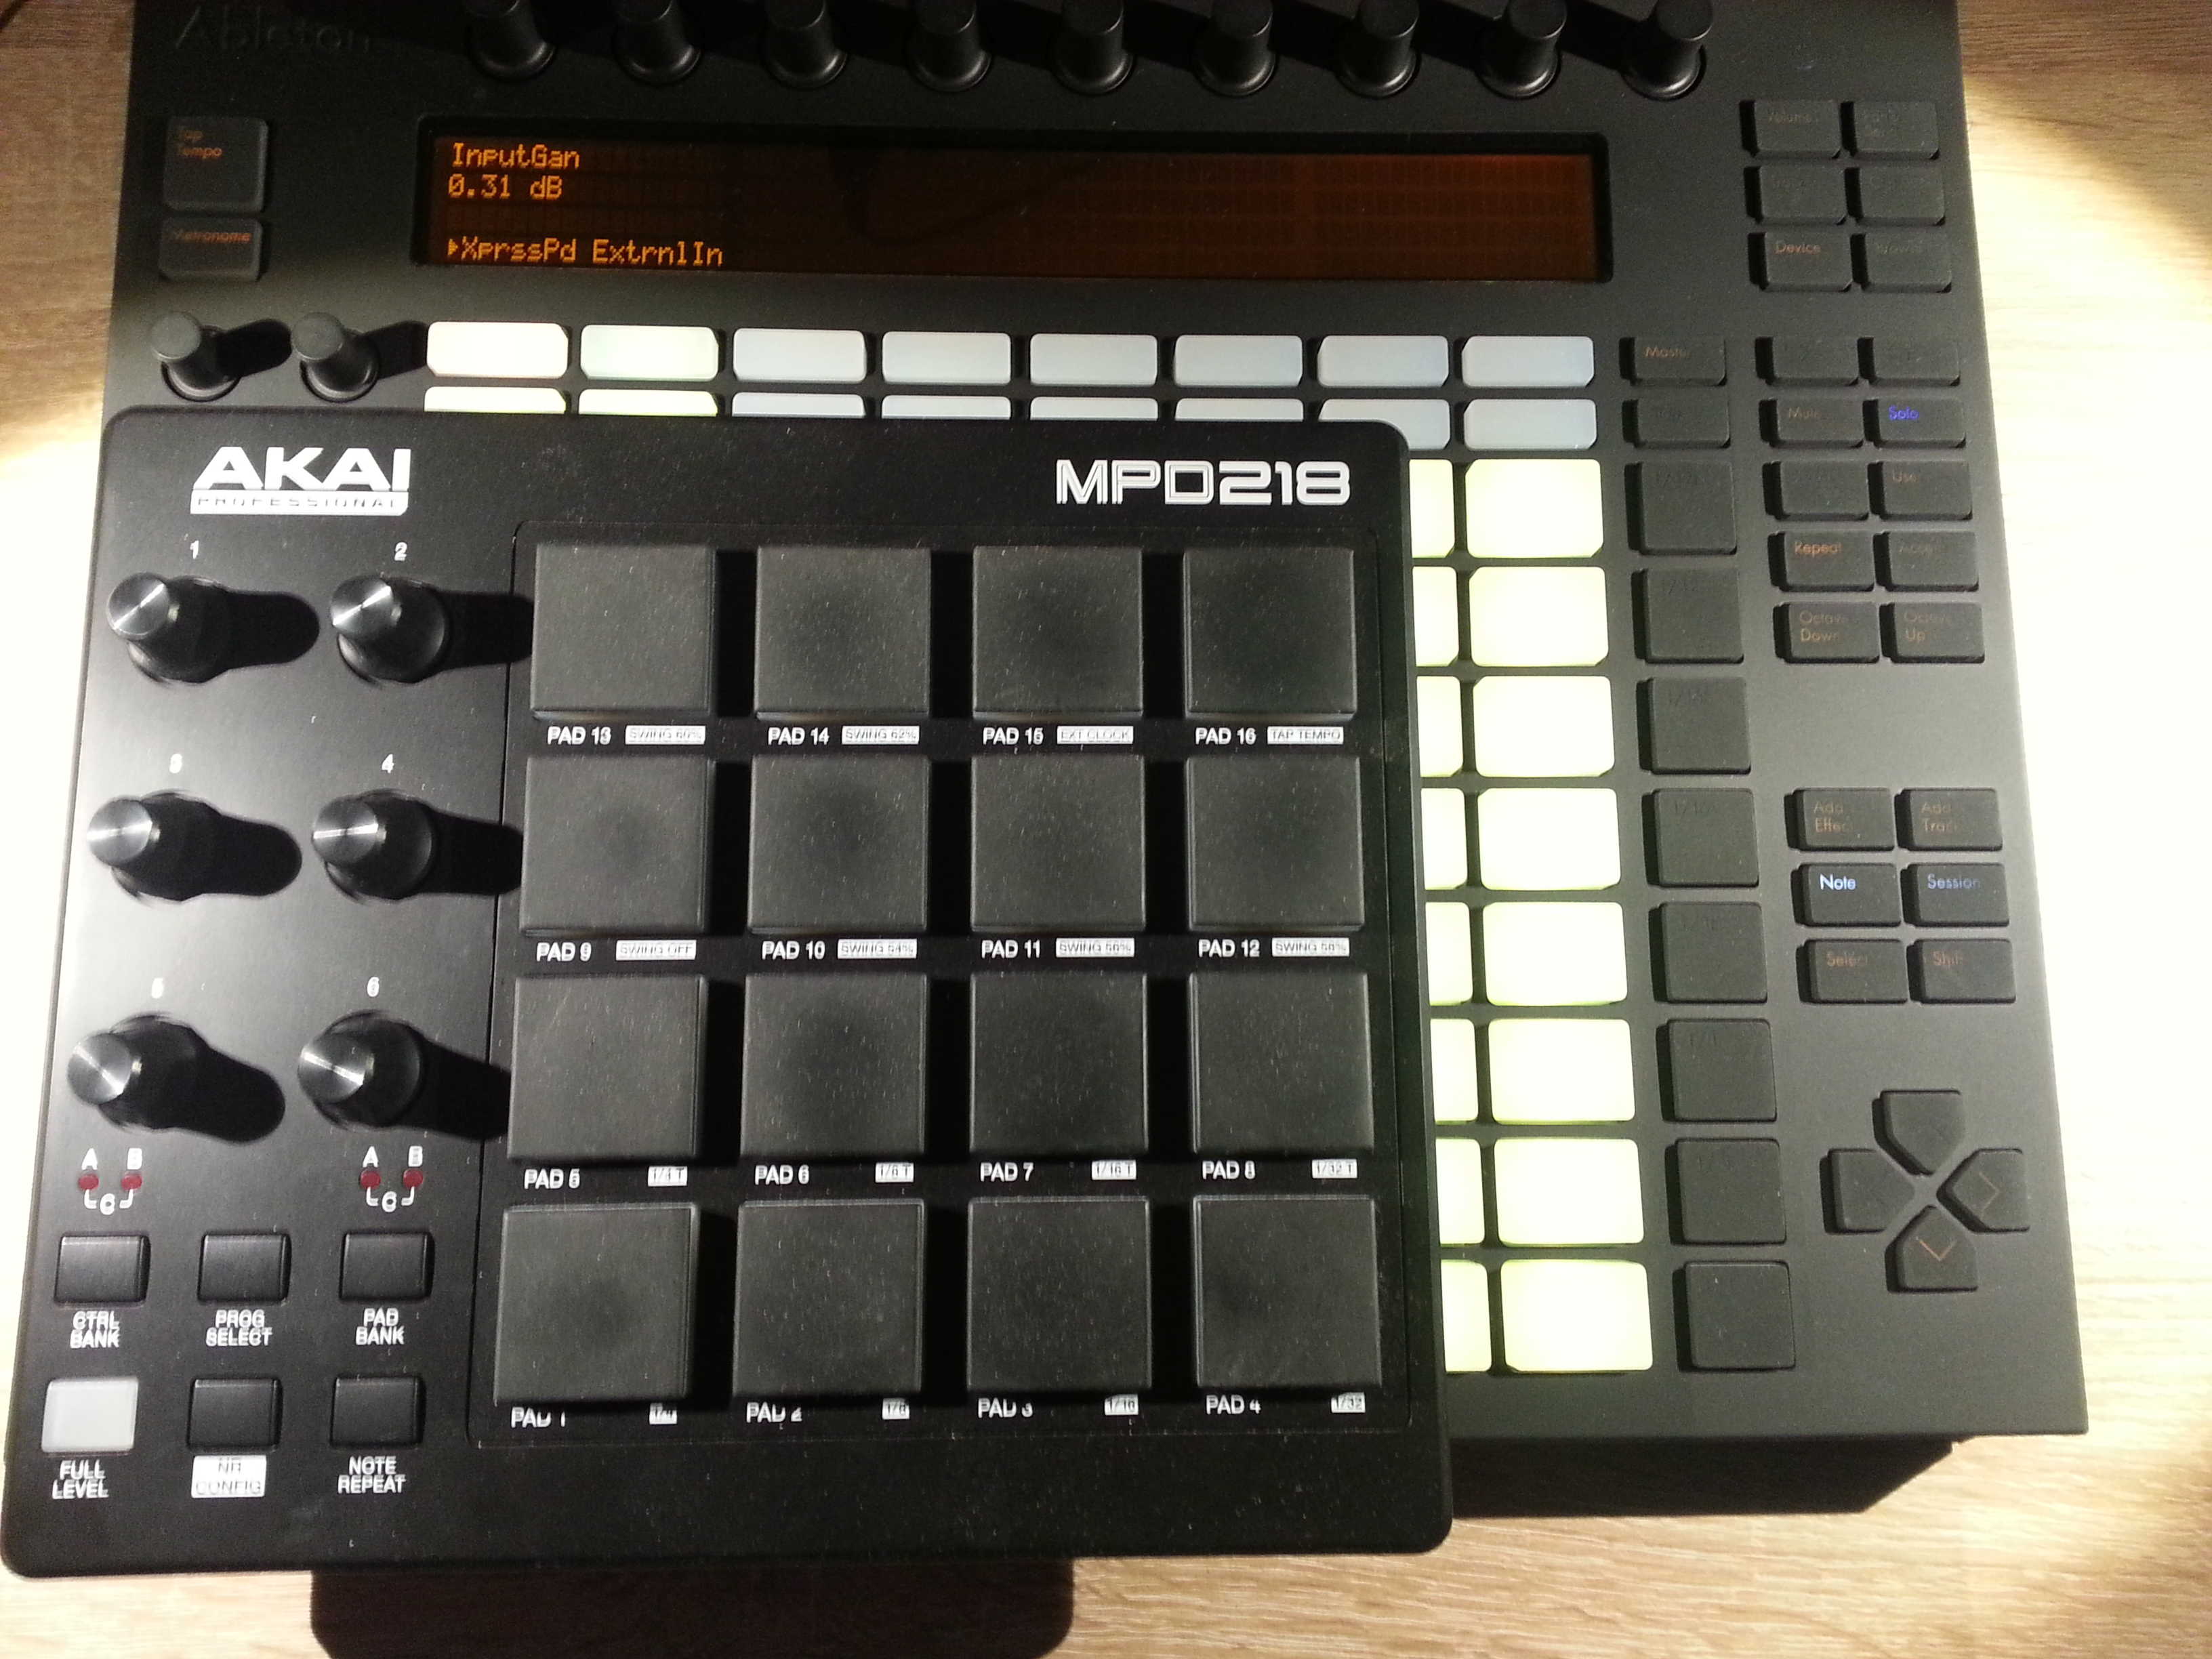
Ableton Push entered the market in March 2013. It was the first MIDI controller with 64 high-quality, backlit velocity-sensitive pads. Sold by Ableton and developed in cooperation with AKAI Professional, its main purpose is to control Ableton Live.
Just over 2 years later, in October 2015, its successor (the Ableton Push 2
As a finger drummer myself, I’m inclined to survey how well Ableton Push works for finger drumming. From that perspective, not that much has changed from Ableton Push to Ableton Push 2. There are still 64 pads that can be utilized for finger drumming, although the physical pad section itself and the way that the pads are lit have been updated on the new Ableton Push 2.
I’d like to thank Norris Lam, a finger drummer using the XpressPads finger drumming technique, for triggering the idea behind this article and for prompting me to get more acquainted with Ableton Push


Related: The best drum machines for finger drumming
64 pad drum rack since Ableton Live 9.2
Ableton Live moved from a 16-pad drum rack to a 64-pad drum rack in version release 9.2. This software update was launched in late June 2015 and it made possible the use of all of Ableton Push’s 64 pads for simultaneous finger drumming.
The XpressPads finger drumming technique is geared toward finger drumming with one or two regular 4×4 pad controllers. With the 64-pads drum rack of Ableton Live 9.2 (and above) and the 64-pad section of Ableton Push, it’s now possible to drive finger drumming towards insanity (and I mean that in the best sense of the word).
Moving from regular 4×4 pad controllers to Ableton Push
For all those who are used to playing 4×4 pad controllers and who want to turn to Ableton Push for finger drumming, the adopt/adapt process isn’t a huge leap; however, a couple of things should be mentioned:
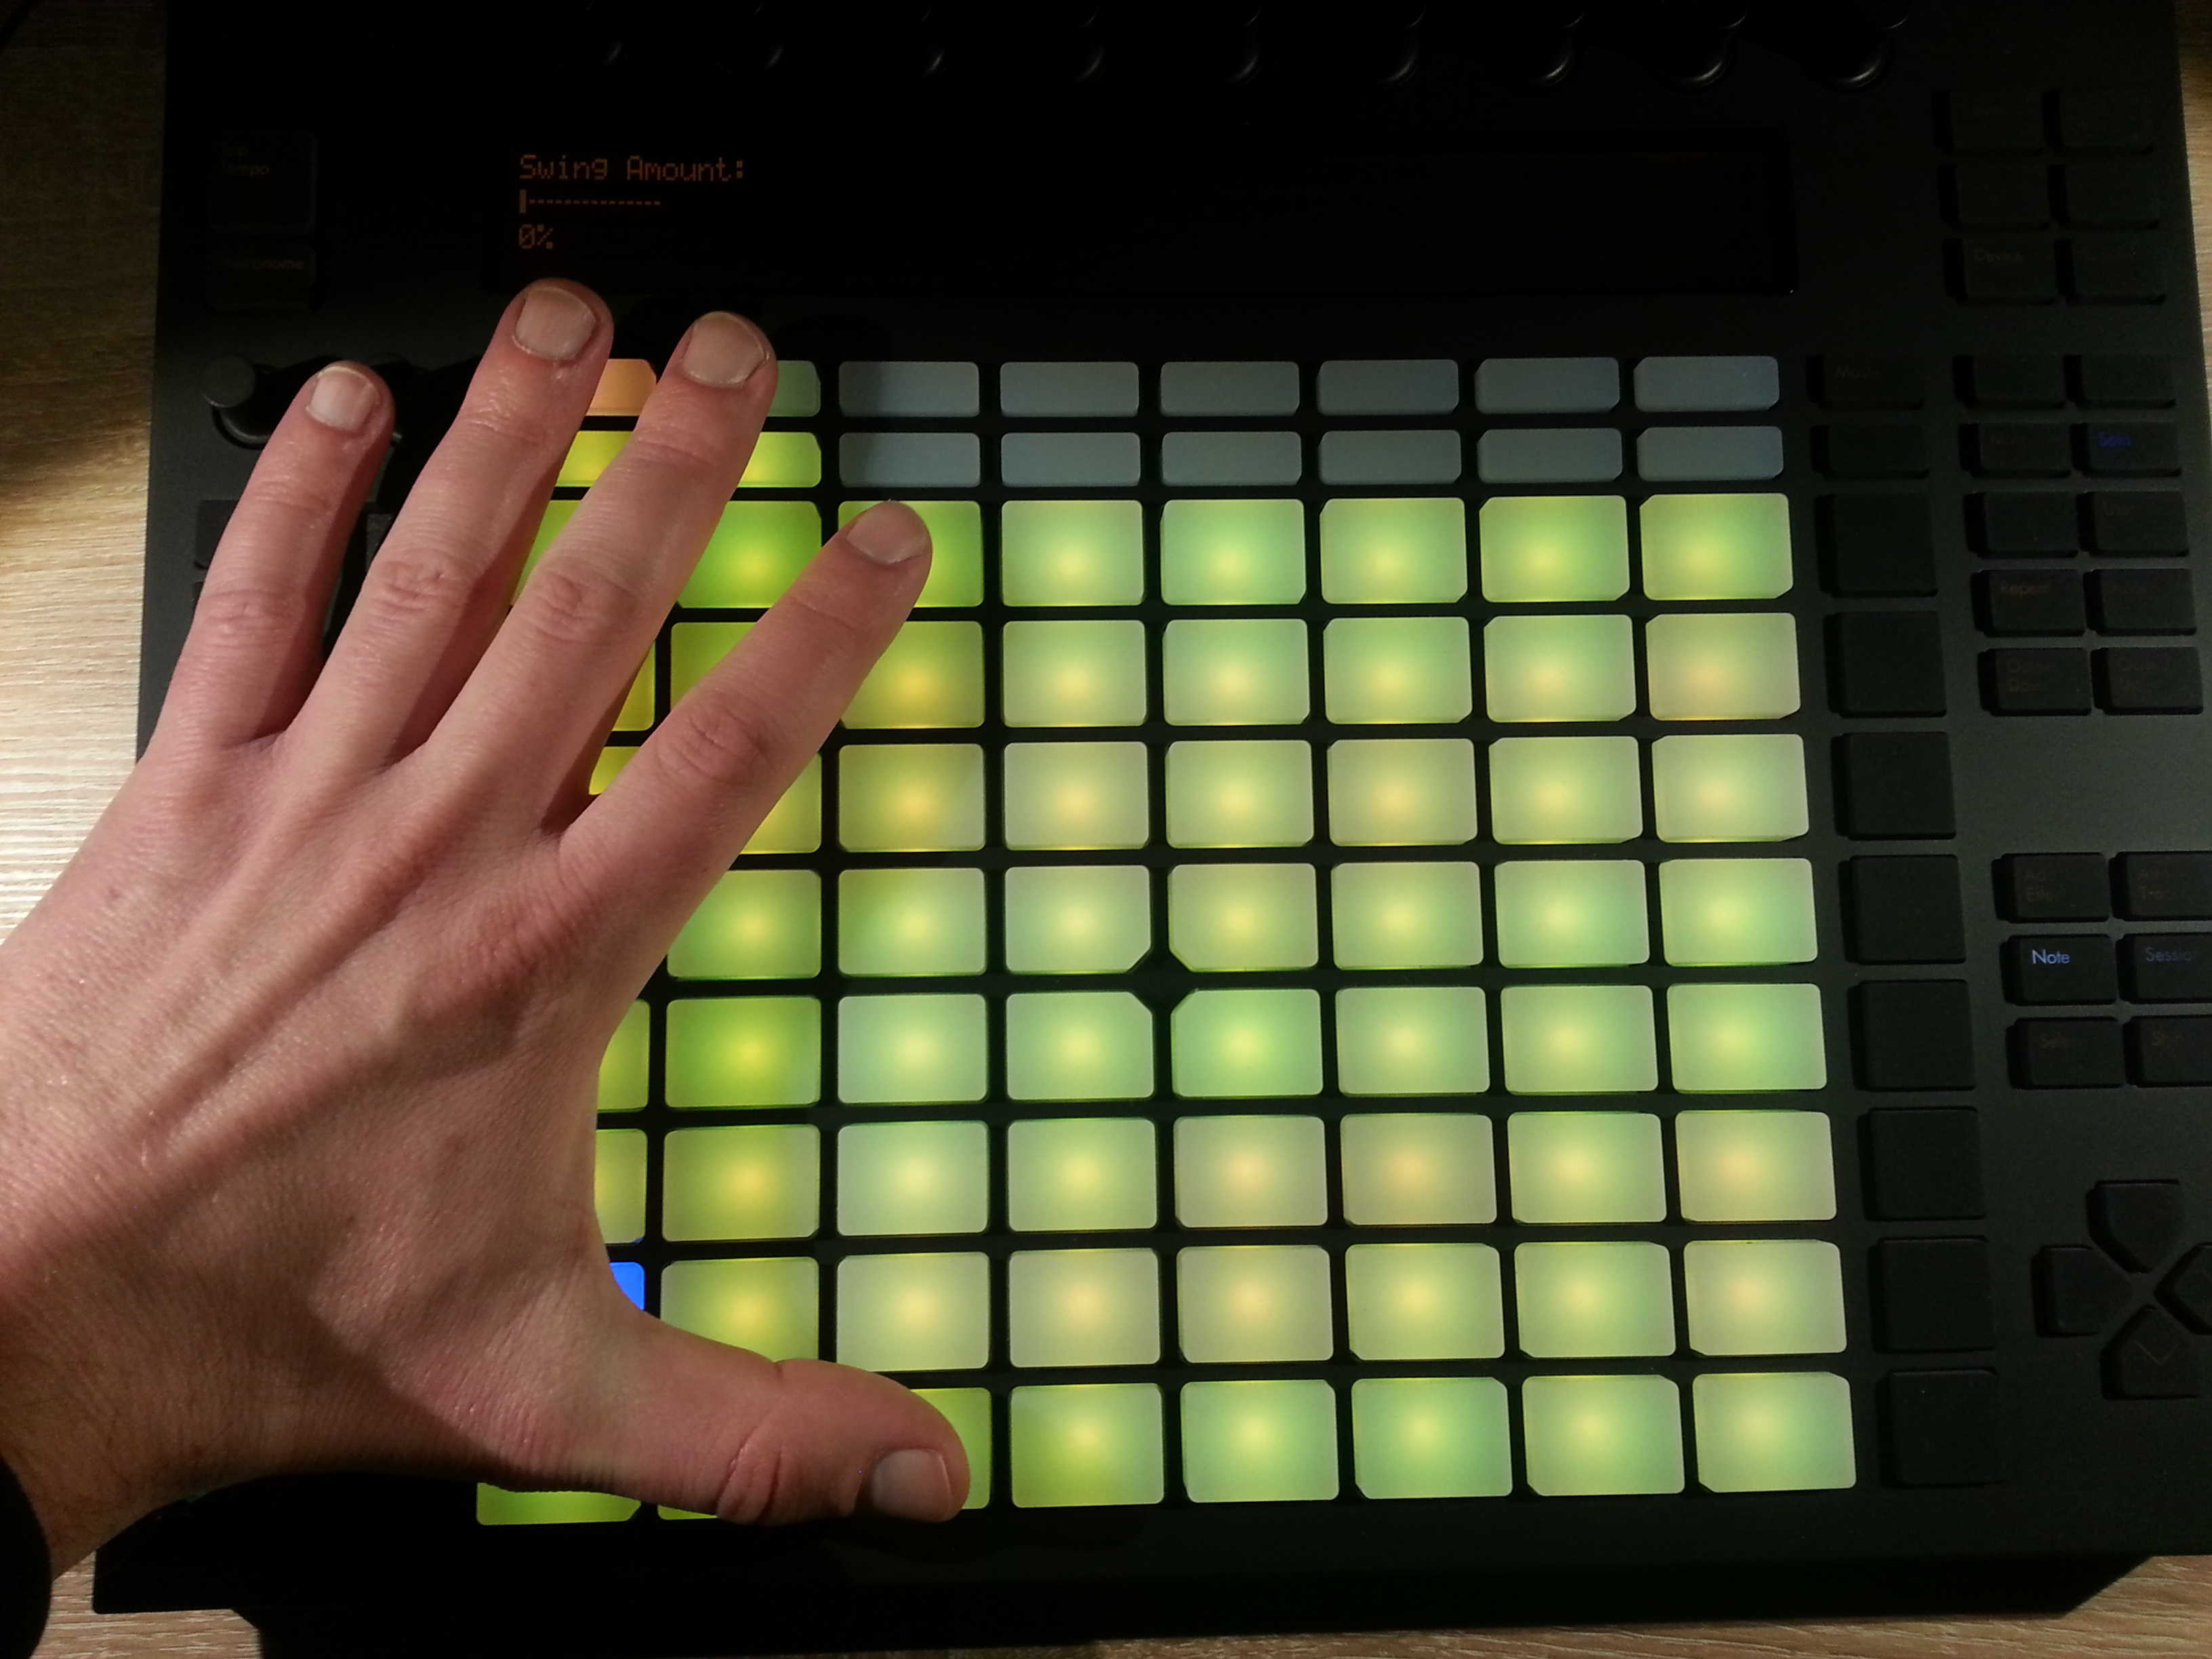
The pads themselves are smaller than those of regular 4×4 pad controllers and they are positioned closer to one another. That means that one will be required to change both the hand posture and finger placement a bit.
 Playing more pads also means that precision becomes an even more important factor for finger drumming on that particular device. The faster the pads are played, the higher the risk of accidentally triggering pads. That’s why I suggest moving slowly through the transition process.
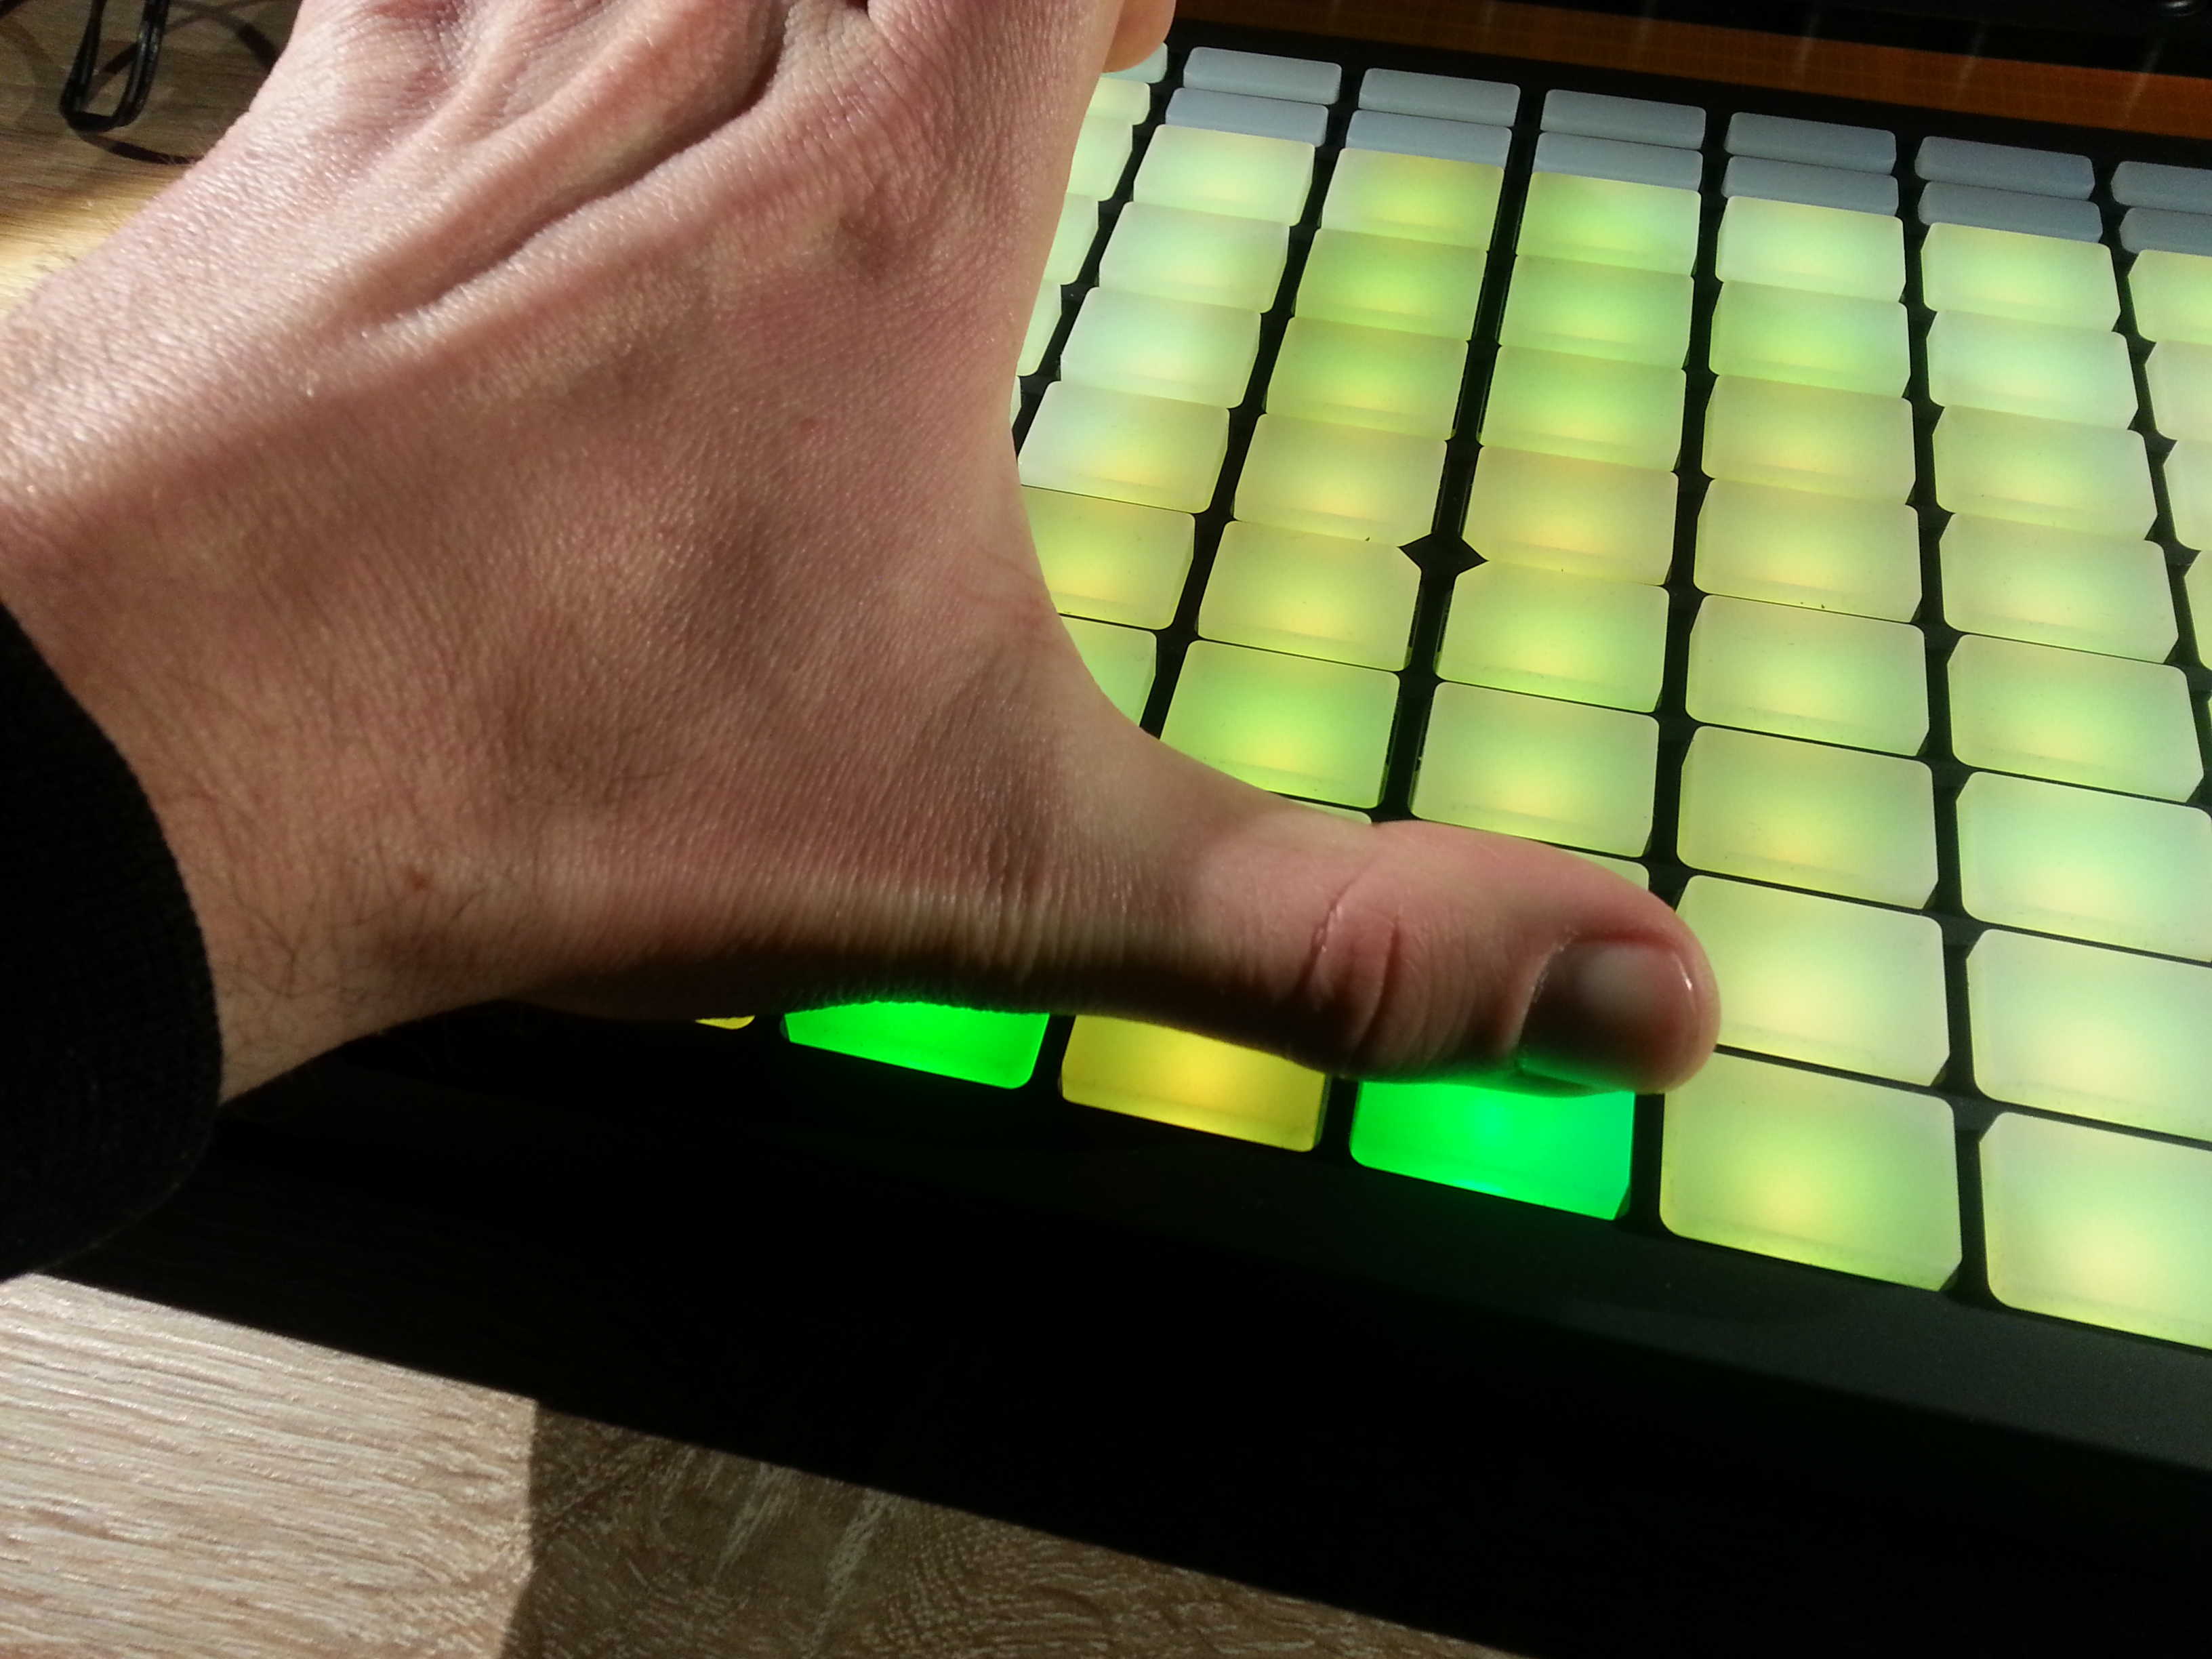
Also, one specific thumb playing technique isn’t really possible with Ableton Push, which is playing two pads at the same time with just the thumb: the distance between the two knuckles that is ideal for playing two pads on a regular 4×4 pad controller just doesn’t match up precisely on Ableton Push.
Establishing a new 64 pad layout for finger drumming on Ableton Push
Another thing to consider is which finger drumming pad layout makes sense with 64 pads. The XpressPads standard layout and the XpressPads Latin & jazz layout both contain 16 pads. The XpressPads Xtreme layout is based on the standard layout, with 32 pads, and requires two regular 4×4 pad controllers. For Ableton Push, I don’t think it makes sense to constitute a specific new pad layout, but to build one upon the existing Xtreme layout.
What I suggest is to place the Xtreme pad layout on the lower 4 x 8 pad section of the Ableton Push pad grid and use the upper 4 x 8 pad section for (drum) sounds that are used less frequently, more as occasional accents. Keep in mind that the higher up one moves on the pads, the more difficult it will be to play those pads, especially if played in combination with other pads.
Specific ideas for XpressPads layouts with 64 pads for Ableton Push
In general, I’d say that it makes sense to use the additional pads for alternative articulations of existing kit pieces and place them into the same pad column. Alternatively, new kit pieces can be added to the additional pads.
Example: cymbal choking
Cymbal choking is applied occasionally in drumming when a real drummer wants to stop a cymbal sound’s sustain. That’s why I believe that putting the cymbal choking articulations into the layout makes sense. All cymbals in the Xtreme layout reside in the fourth pad row. I like to place all cymbal choking articulations into pad row 5, just to keep them close to the main cymbal articulations.
The regular cowbell articulation also resides in the fourth pad row. Sometimes it’s effective to have an alternative cowbell articulation at hand in order to play more interesting rhythmic figures, like for example an Agogo bell pattern. That’s why a second cowbell articulation should also be placed into pad row 5.
Example: tom rim shots
Tom rim shots can be used as an accent and are used only occasionally. In the Xtreme layout, all four toms reside in one pad row (row 3). I think it makes more sense to put the tom rim shot articulations into one single row as well (e.g. row 6).
Example: additional percussion instruments
Many virtual drum kits offer additional sound slots for percussions and special effects, such as Native Instruments Studio Drummer, Toontrack ezDrummer, XLN Audio Addictive Drums, and others. Since those drum sounds are used rather as special accents in drum beats or are often added to a simple bass drum pattern, it makes sense to use the highest pad rows on Ableton Push for those kinds of sounds. Keep in mind that the higher you move up the pad rows, the more complicated it will be to play precisely, especially when playing simple patterns on the fundamental rhythm section (bass drum /snare drum /hi-hat) with the thumb at the same time.
Creating a Live 64 Drum Rack for Ableton Push for Your Favourite Virtual Drum Kit Plugin
Download the XpressPads finger drumming layouts for Ableton Live!
Creating a 64 pads drum rack in Ableton Live for your favorite virtual drum kit plugin for use with Ableton Push requires a couple of preparation steps.
Step 1: Press the Note button on Ableton Push to switch to the 64 pads view on the device.
Step 2: Create a drum rack track.
Step 3: Create a virtual instrument track that contains the virtual drum kit plugin of your choice.
Step 4: In the drum rack view that shows pads in a 4×4 fashion, load an external instrument from the “Instruments” section via the drag-n-drop browser feature.
Step 5: Enable the following three views in the drum rack: (1) chain list, (2) devices, and (3) input/output section.
Step 6: Check the MIDI map of your virtual drum module (I’m inclined to use the General MIDI map whenever possible, which provides the highest level of note-to-kit-piece mapping consistency when I load a different virtual drum kit plugin).
Step 7: Have the General MIDI note map at hand in order to adjust the midi input/output settings accordingly (assign the right pad to the right note). <link>
Step 8: Click on the drum rack pad you dragged-and-dropped the “external instrument module” onto and change its “play note” value to the one you want.
Step 9: In the devices section, go to the first drop-down field and select the track that contains your virtual drum kit plugin.
Step 10: Hit the respective pad on your Ableton Push to double-check if your changes were made effective.
Step 11: Copy the drum rack pad you’ve just edited via dragging-and-dropping (while holding “control” on a PC / “alt” on a Mac). Then change the “play note” value to the one you want.
Step 12: Repeat step 11 as often as is necessary in order to complete your Live drum rack for finger drumming.
Note: Once you’ve completed a drum rack and set all the links to the virtual drum kit track, you should save that project as a template, because as you can see from the step-by-step instructions, creating that initial setup is a bit of work.
Note: When you want to use that specific pad layout for a different virtual drum kit plugin, first establish the connections in the “device” area once again for each and every pad. For 64 pads, that is a bit of work, too, but again, saving that project as a template will make that setup available for future use. Note that this procedure might not work with each and every virtual drum kit plugin that you own. In my case, I created a track for Toontrack ezDrummer 2
To be honest, I’ve seen easier ways of setting up pads on a controller to be playable with virtual drum kit plugins, but I haven’t yet found an easier way of doing this on Ableton Push. If you know better/easier/faster workflows and easier ways of changing virtual drum kit plugins, then please leave a comment on this article or open a new XpressPads finger drumming forum thread. Nevertheless, I believe that having 64 pads at one’s disposal for finger drumming makes the measures described above worthwhile.
Ableton Push 1 vs. Ableton Push 2
I’ve found two videos that explain the differences between Ableton Push and Ableton Push 2 very well:
In a nutshell, I’d consider these new features most interesting:
- larger display with different colors and graphical imaging
- color coding of segments and workflows
- better metering (volume per track)
- pad playability
- pad sensitivity setting improvements
- pad lighting (pad color reflects track color)
- button feel and flatness
- pad resistance when rubbing (a matter of taste)
Conclusion
I am thrilled by the idea of having 64 pads at my disposal for finger drumming. This puts me in the position of creating all kinds of layout enhancements to the already big XpressPads Xtreme layout, which covers 16-kit piece articulations. With 32-kit piece articulations (64 pads with mirrored pad assignments) anything, rhythmically speaking, seems possible.